The Gower Gulch Loop threads together two of Death Valley's most photogenic slot canyons in a 4-mile circuit that showcases the park's signature badlands without requiring technical skills. Golden Canyon delivers the colorful walls and narrows, while Gower Gulch provides the return route through a wider, more open wash.
Trail Details
- 🏃Activities
- Hiking
- 📊Difficulty
- Moderate
- 🔁Trail Type
- loop
- 📏Distance
- 8 miles
- ⬆️Elevation Gain
- 834 ft
- 📍Location
- CA
- 🐕Dogs Allowed
- No
- 💵Fee
- Free
Overview
This is Death Valley's most popular moderate hike, and for good reason. The loop combines the sculpted narrows of Golden Canyon with the broad alluvial landscape of Gower Gulch, creating a sampler of the park's canyon country. The route follows dirt trail and wash bottoms, with one 3-foot rock scramble that any reasonably agile hiker can manage.
The terrain tells the story of flash floods and geological time. Golden Canyon cuts through sedimentary layers that tilt and fold in visible waves, while the return through Gower Gulch reveals how water carves these badlands during the brief but violent desert storms. Manly Beacon, a prominent cream-colored formation, serves as a landmark visible from both sides of the loop.
At Red Cathedral Junction about a mile in, you can detour south to see the red-walled amphitheater that gives this formation its name before continuing the main loop. The extension to Zabriskie Point adds 3.8 miles to make a nearly 8-mile day, but most hikers stick to the basic circuit.
What to Expect
The first half climbs gradually up Golden Canyon's narrowing walls. The trail is well-defined, following the wash bottom past layered rock formations in shades of cream, orange, and rust. The single rock scramble comes early in the route and requires using hands briefly to navigate down a short drop.
After reaching the high point of the loop, the route drops into Gower Gulch for the return leg. This section feels more open and exposed, following a broader wash with views across the valley floor toward the Panamint Range. The walking is easier here, mostly on sandy wash bottom with occasional rocky sections.
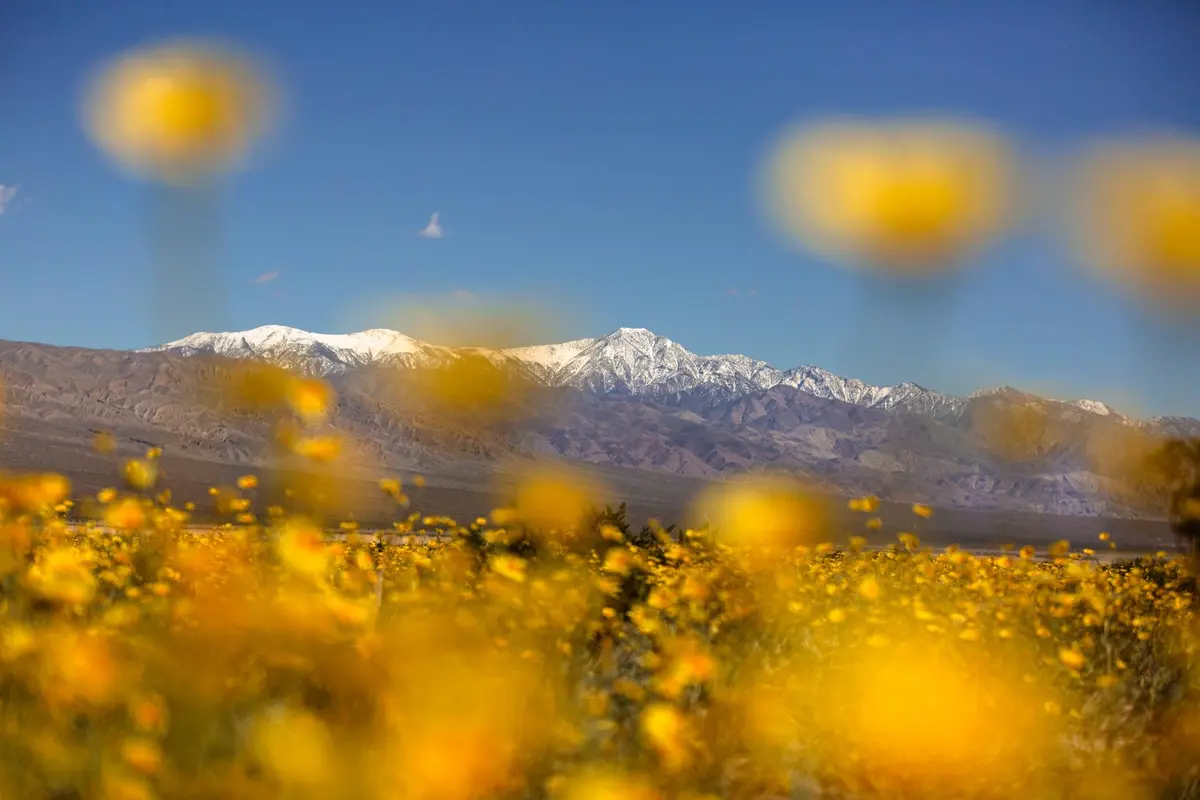
The colorful geology is the main attraction, but hikers also encounter the scale of Death Valley's landscape. From the gulch, you can see across the valley floor to snow-capped peaks in winter, a reminder of the extreme elevation range compressed into this desert basin.
Tips & Logistics
Summer heat makes this trail dangerous after 10 AM. Plan accordingly or save it for cooler months. Winter offers the best hiking conditions, with comfortable temperatures and occasional snow on the surrounding peaks creating dramatic contrast.
The trailhead sits 2 miles south of Highway 190 on Badwater Road, with a paved parking area large enough for RVs. A vault toilet is available, but bring all your water. The lot fills up during peak season (November through March), but overflow parking is usually available on the shoulders.
No permit is required beyond the park entrance fee. Dogs aren't allowed on any Death Valley trails, even if carried. The route requires basic navigation skills since you're following wash bottoms, but the path is generally obvious.
Carry more water than you think you need. The exposed terrain and dry air are deceptive, and hikers regularly underestimate their fluid needs. A GPS unit or phone app helps with navigation, especially at the junction where the loop splits, though the route is straightforward enough for map and compass navigation.
Morning light brings out the best colors in the canyon walls and avoids the harsh midday glare that washes out the subtle geological details that make this hike worthwhile.